Your Kubernetes Journey Starts Here
Asergo Team
Learn how to set up and start using Asergo's development platform to streamline your workflow and boost productivity
2 min read
9 July 2025
Copenhagen, Denmark
Get Started with Ease
Asergo provides a powerful yet simple Kubernetes platform that handles all your container needs. Deploy applications, manage storage, and monitor performance effortlessly with our intuitive dashboard and comprehensive tools.
Your First Steps
1. Login and Check Account Details
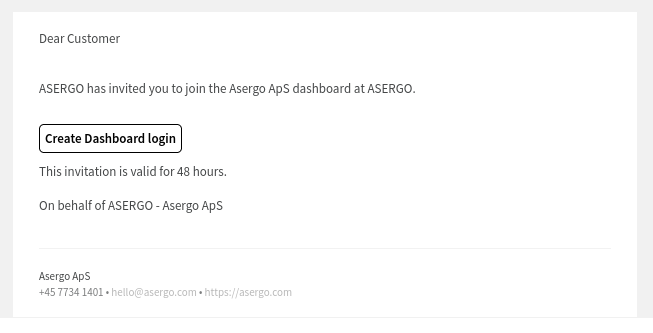
Start by creating your Asergo account using the link in your welcome email
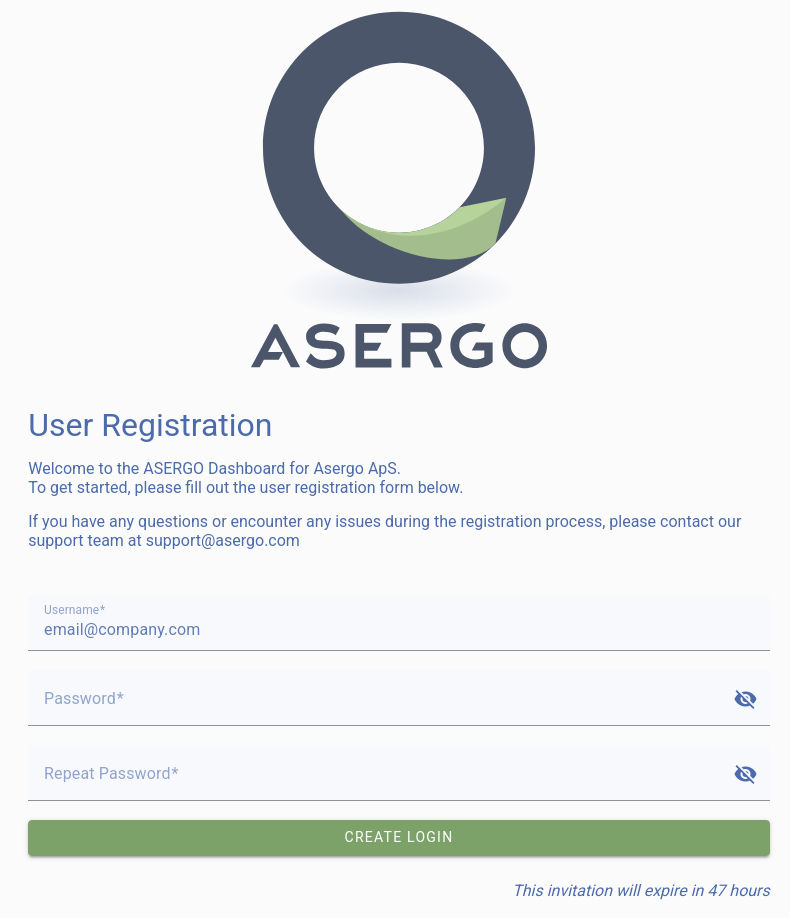
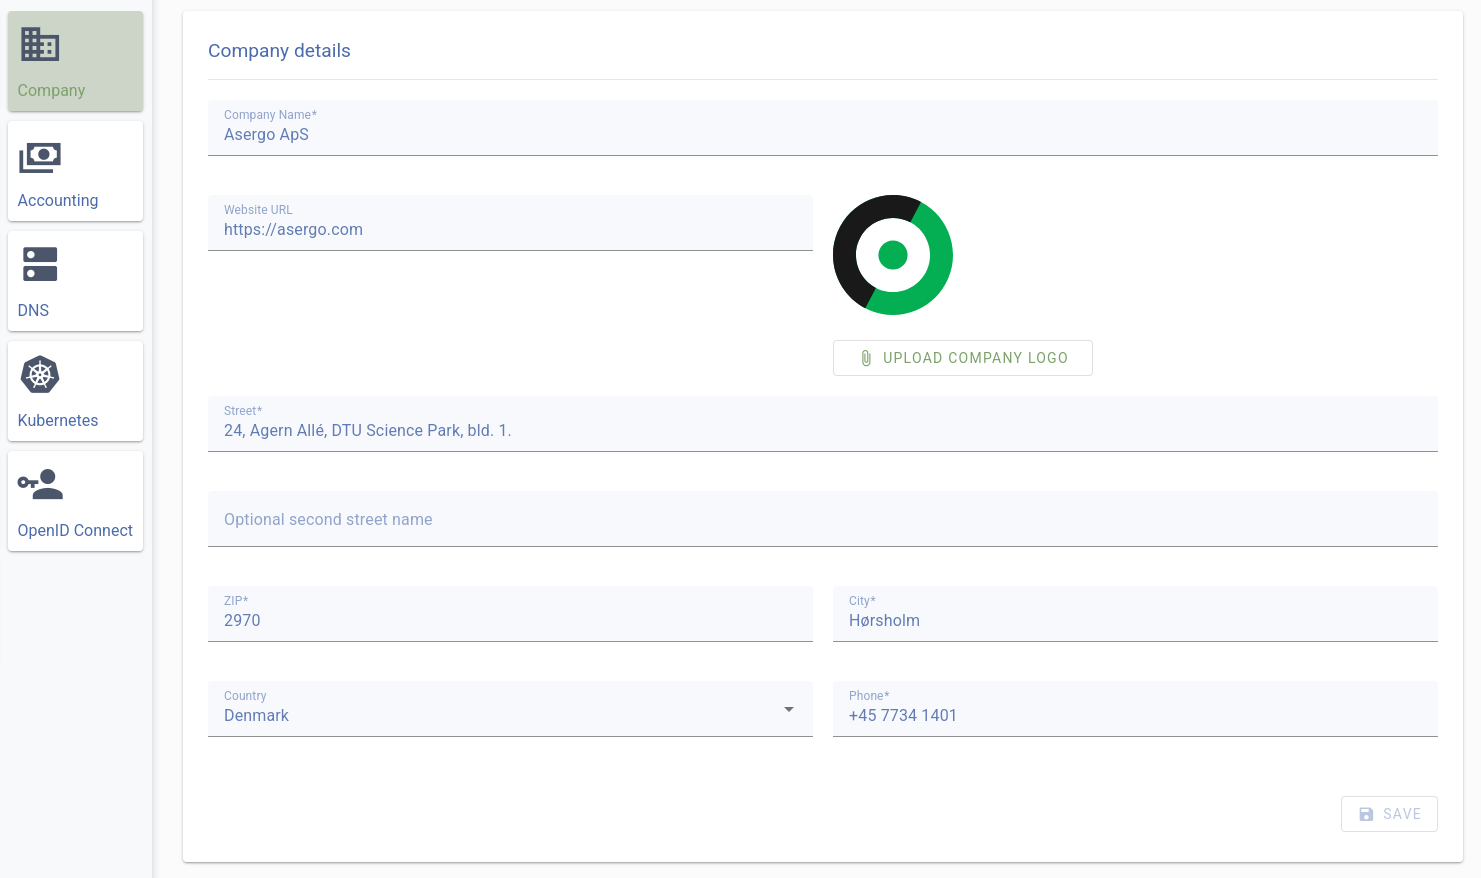
Once logged in, visit the dashboard to verify your account details, change and ensure everything is properly configured.
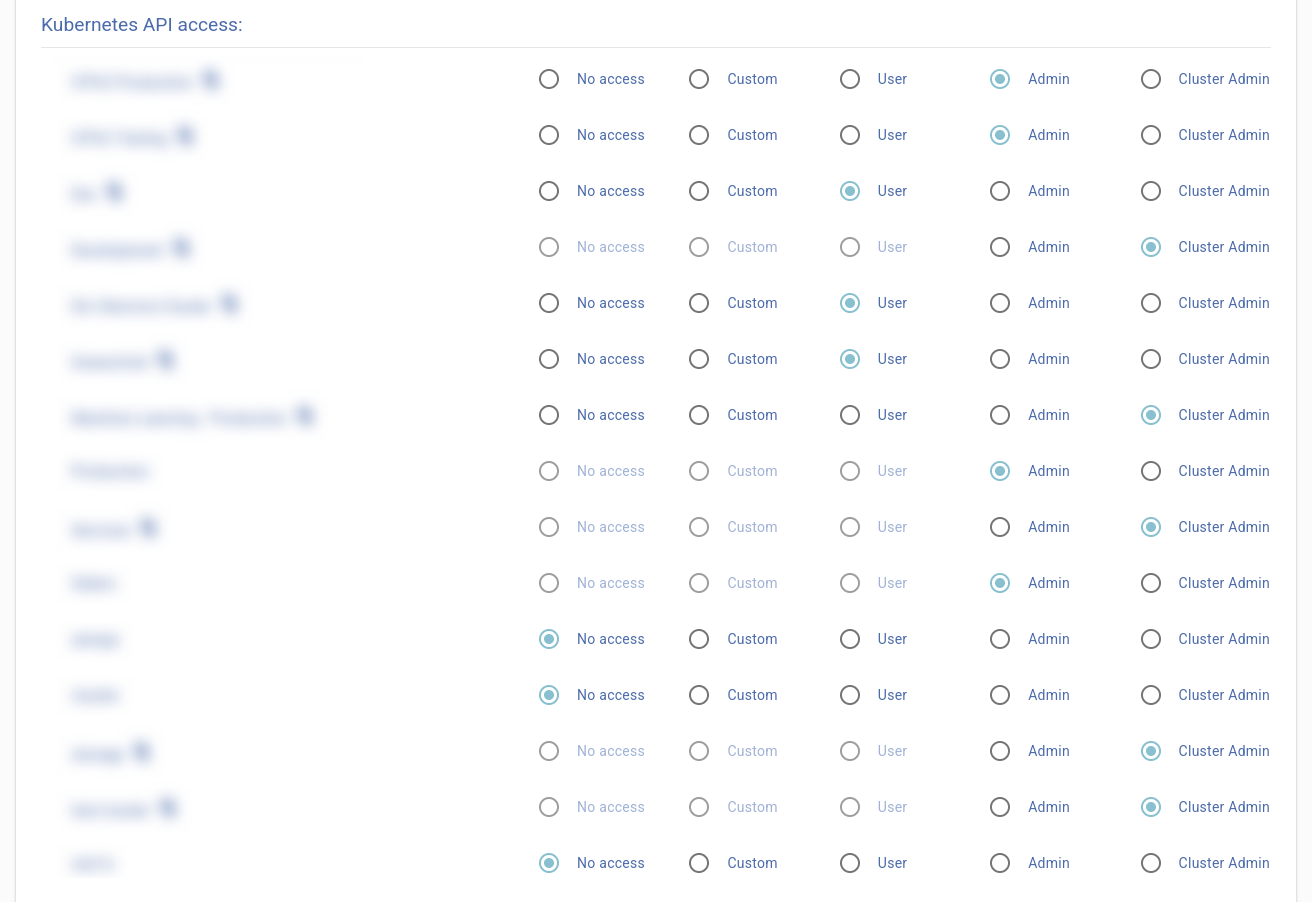
2. Create User Accounts
Set up your team by:
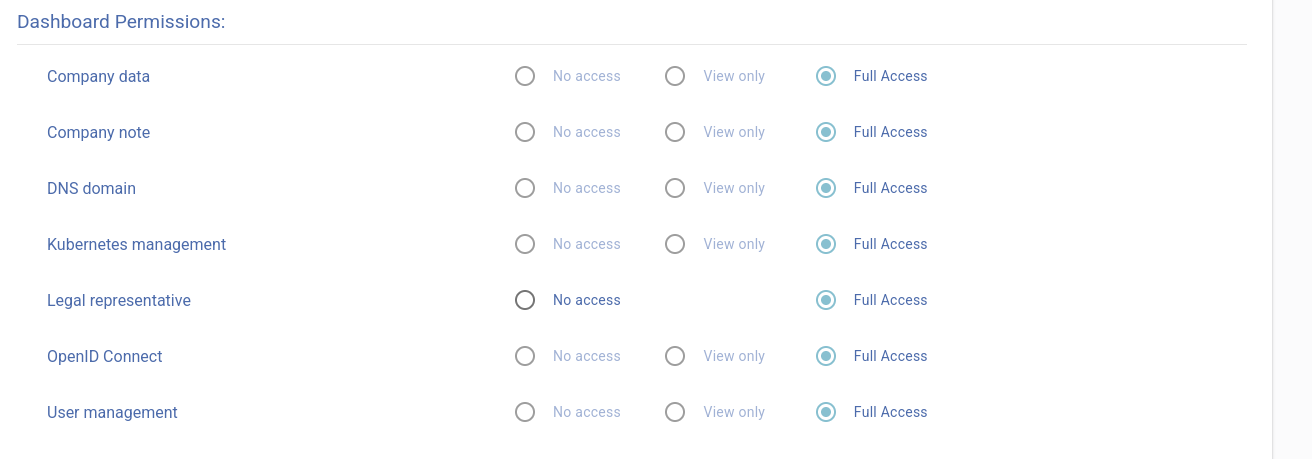
- Creating individual accounts for each member who needs cluster access
- Assigning appropriate access levels based on each person’s role



3. Access Your Cluster
Your control center awaits in the Asergo Dashboard, where you can:
- Manage your Kubernetes environment
- Download your personalized configuration
- Begin exploring your cluster’s capabilities


4. Set Up Your Workspace
Prepare your local environment with our guided setup process that ensures you have all necessary tools to work with your Kubernetes cluster smoothly.
5. Deploy and Manage
With everything configured, you’re ready to:
- Deploy your applications
- Manage your cluster
- Customize your setup to match your specific requirements


Powerful Tools at Your Fingertips
The Asergo dashboard provides everything you need to monitor and manage your cluster effectively:
- Performance Insights: Understand how your applications are performing
- Centralized Logging: Easily troubleshoot with organized application logs
- Cluster Maintenance: Keep your environment current with the latest features and security
- Node Health: Maintain cluster availability through effective node management
- Visual Management: Get an overview of your workloads and resources through our easy-to-use interface
Designed for Simplicity
We’ve built our platform to be straightforward and user-friendly, so you can concentrate on what’s important - your applications. Asergo helps you:
- Launch Applications: Quickly deploy to your Kubernetes cluster
- Track Performance: Monitor your cluster’s health with intuitive dashboards
- Control Resources: Manage your Kubernetes environment with ease
Ready to Begin?
Not yet, you still need to set up your laptop kubectl command line tool.